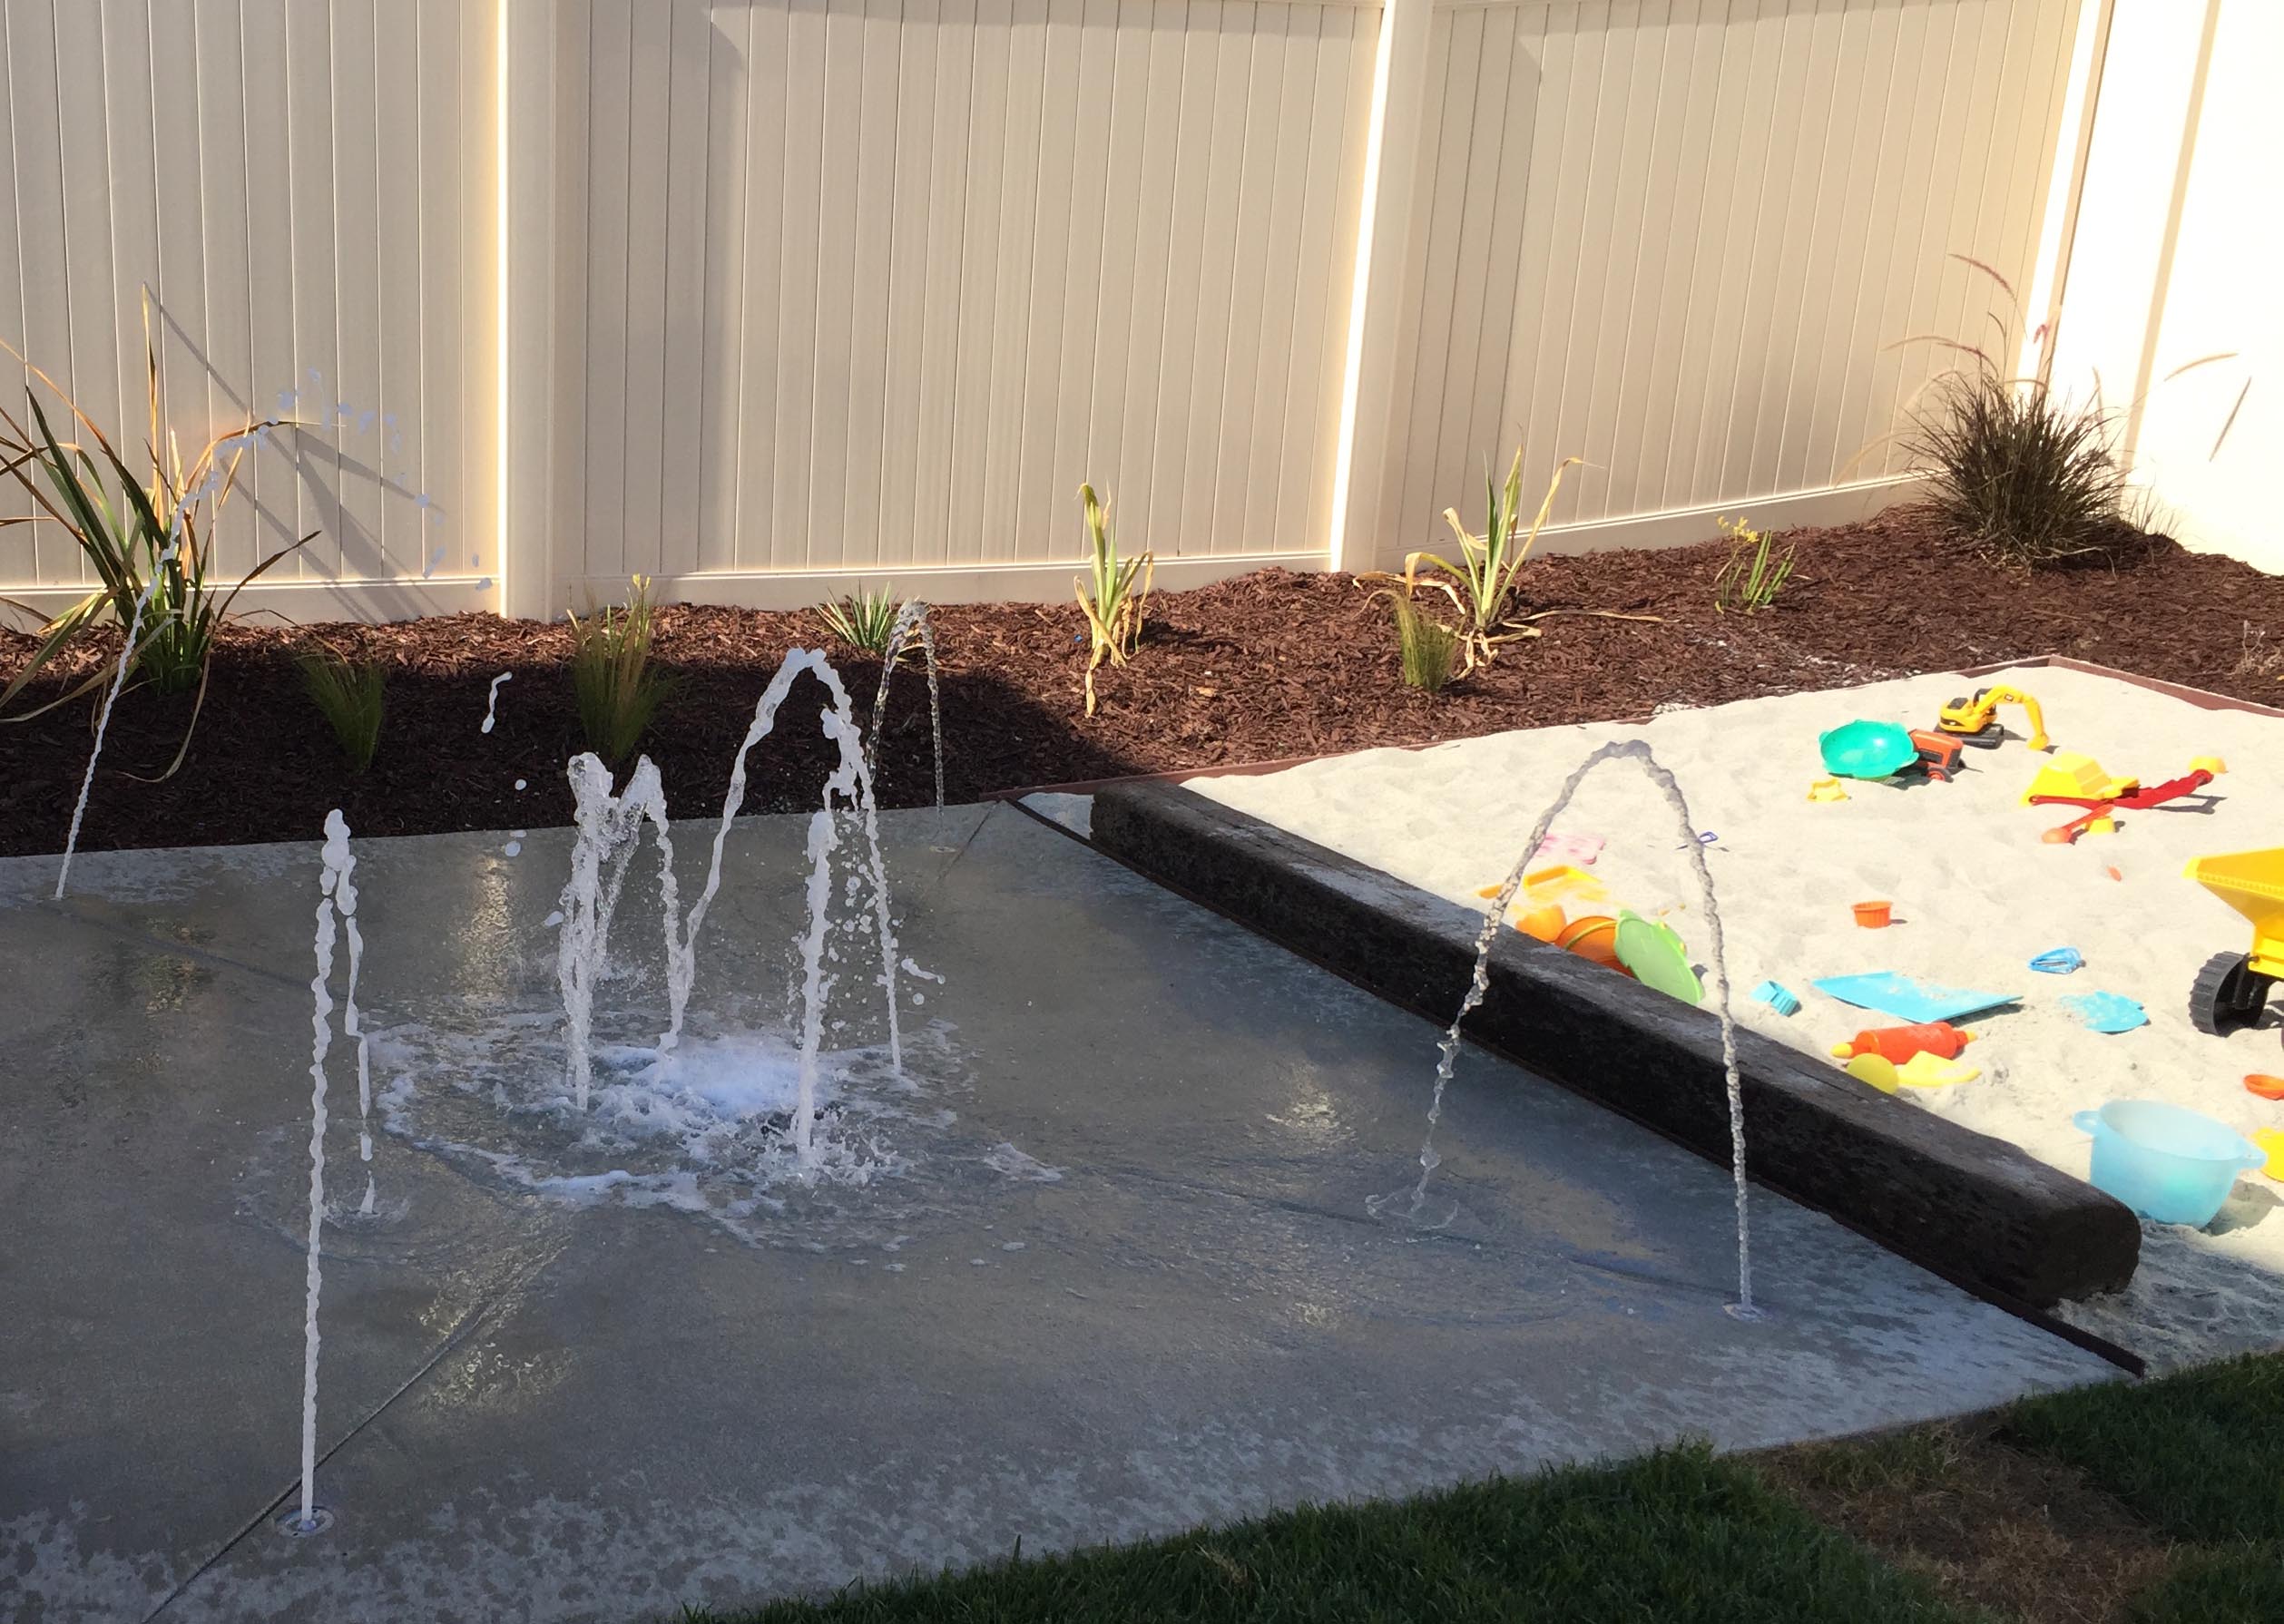
Splash pads are the latest, greatest thing for young children at resorts and parks. So it might surprise you to learn that homeowners have picked up on the trend, and are now installing backyard splash pads for their youngsters to enjoy. But it makes sense, because splash pads provide endless water entertainment without the dangers or fuss of a pool. Plus, they aren’t terribly difficult to install.
If you’re intrigued by the idea of installing your own backyard water park, read on for step-by-step instructions.
Choose a surface. Pavers, rubber, or textured concrete are common options for non-slip splash pad surfaces. Your own choice will depend upon budget, safety concerns, and aesthetics. Consider, also, the size of your space and the number of water jets you wish to include.
Select your features. This is the fun part. You can select a kit, or design your own splash pad from an array of options. If you go the custom route, you can really go wild with numerous “mushrooms”, “trees”, squirting jets, sprinklers, buckets that fill and dump, and much more.
Check on building codes and restrictions. Before you get started, check to see whether you need a construction permit for this project, or if any other rules will apply. You might be required to utilize the services of a professional electrician, for example.
Prepare the space. First you will mark the space, including the location of the pump, filter, holding tank, and so on. Then you will remove about 18 inches of soil, along with trenches for the placement of pipes and electrical lines. Remember that your drain needs to be located at least six inches above the holding tank, and you will need a deep hole for that.
Plan, also, for a structure to hold your pump. If the pump is not protected, your whole splash pad won’t function properly. Pumps are quite costly to replace.
Install wiring and pipes. All of the functional components of your splash pad will be installed first, paying attention to where the spray heads and drain will eventually end up. You want the spray heads above ground, of course, and the drain should be located at the lowest spot on your splash pad. For every nine feet from the drain, your structure needs two inches of elevation.
Backfill and complete. Now you will backfill the area to about ten inches from where the surface should be. Add about six inches of clear aggregate on top of that, and then about four inches of concrete if you’ve chosen a concrete surface. For pavers, you will instead add a layer of sand first.
Your final steps will include connecting the main electric line, and performing a test run of the system. Remember that this is just a general guide, and that installing a splash pad will require quite a bit of research and (potentially) some heavy equipment. If you would prefer to have your splash pad professionally designed and installed, please give us a call. We’ll be happy to help you with an estimate for that service.