Now that the weather is cooling off, spring and your favorite flowers might seem a long way off. However, the lushest and beautiful spring gardens are actually planned in the fall. Setting out spring bulbs for next year’s blooms might be the perfect family project, as it teaches kids about plant growth cycles. As a bonus, it can also teach patience!
Planting bulbs is easy, but for newbies, here is a quick checklist.
Gather the right equipment. You can certainly use simple hand tools like a spade, trowel, and shovel, but many gardeners swear by bulb planters. They dig quick, easy holes that are just the right depth for bulbs. Plus, they’re easy for kids to use.
Plan. Research the particular flowers you’ve chosen and decide how to space them in your garden. This becomes more complex as you mix varieties of different species and sizes, but the end result is also more dramatic. Correct spacing is important so that you can ensure each plant receives the right amount of light and has enough room to spread.
Dig. Different bulbs have their own unique depth requirements, so check the package. Then, match those to the measurements on the side of your bulb planter. Insert the planter in the ground, then rotate it back and forth until you achieve the correct depth. When you lift the planter out of the ground, the dirt will come with it.
Plant. Now, all you have to do is drop the bulbs into the holes, pointy side up. This seems like a simple task, but most kids find it mildly thrilling!
Cover. Replace the dirt back into the holes, covering the bulbs. Pat firmly, and you’re finished. If you’re worried about an extra dry fall, you can water them lightly if you prefer. However, most bulbs don’t require any watering just yet.
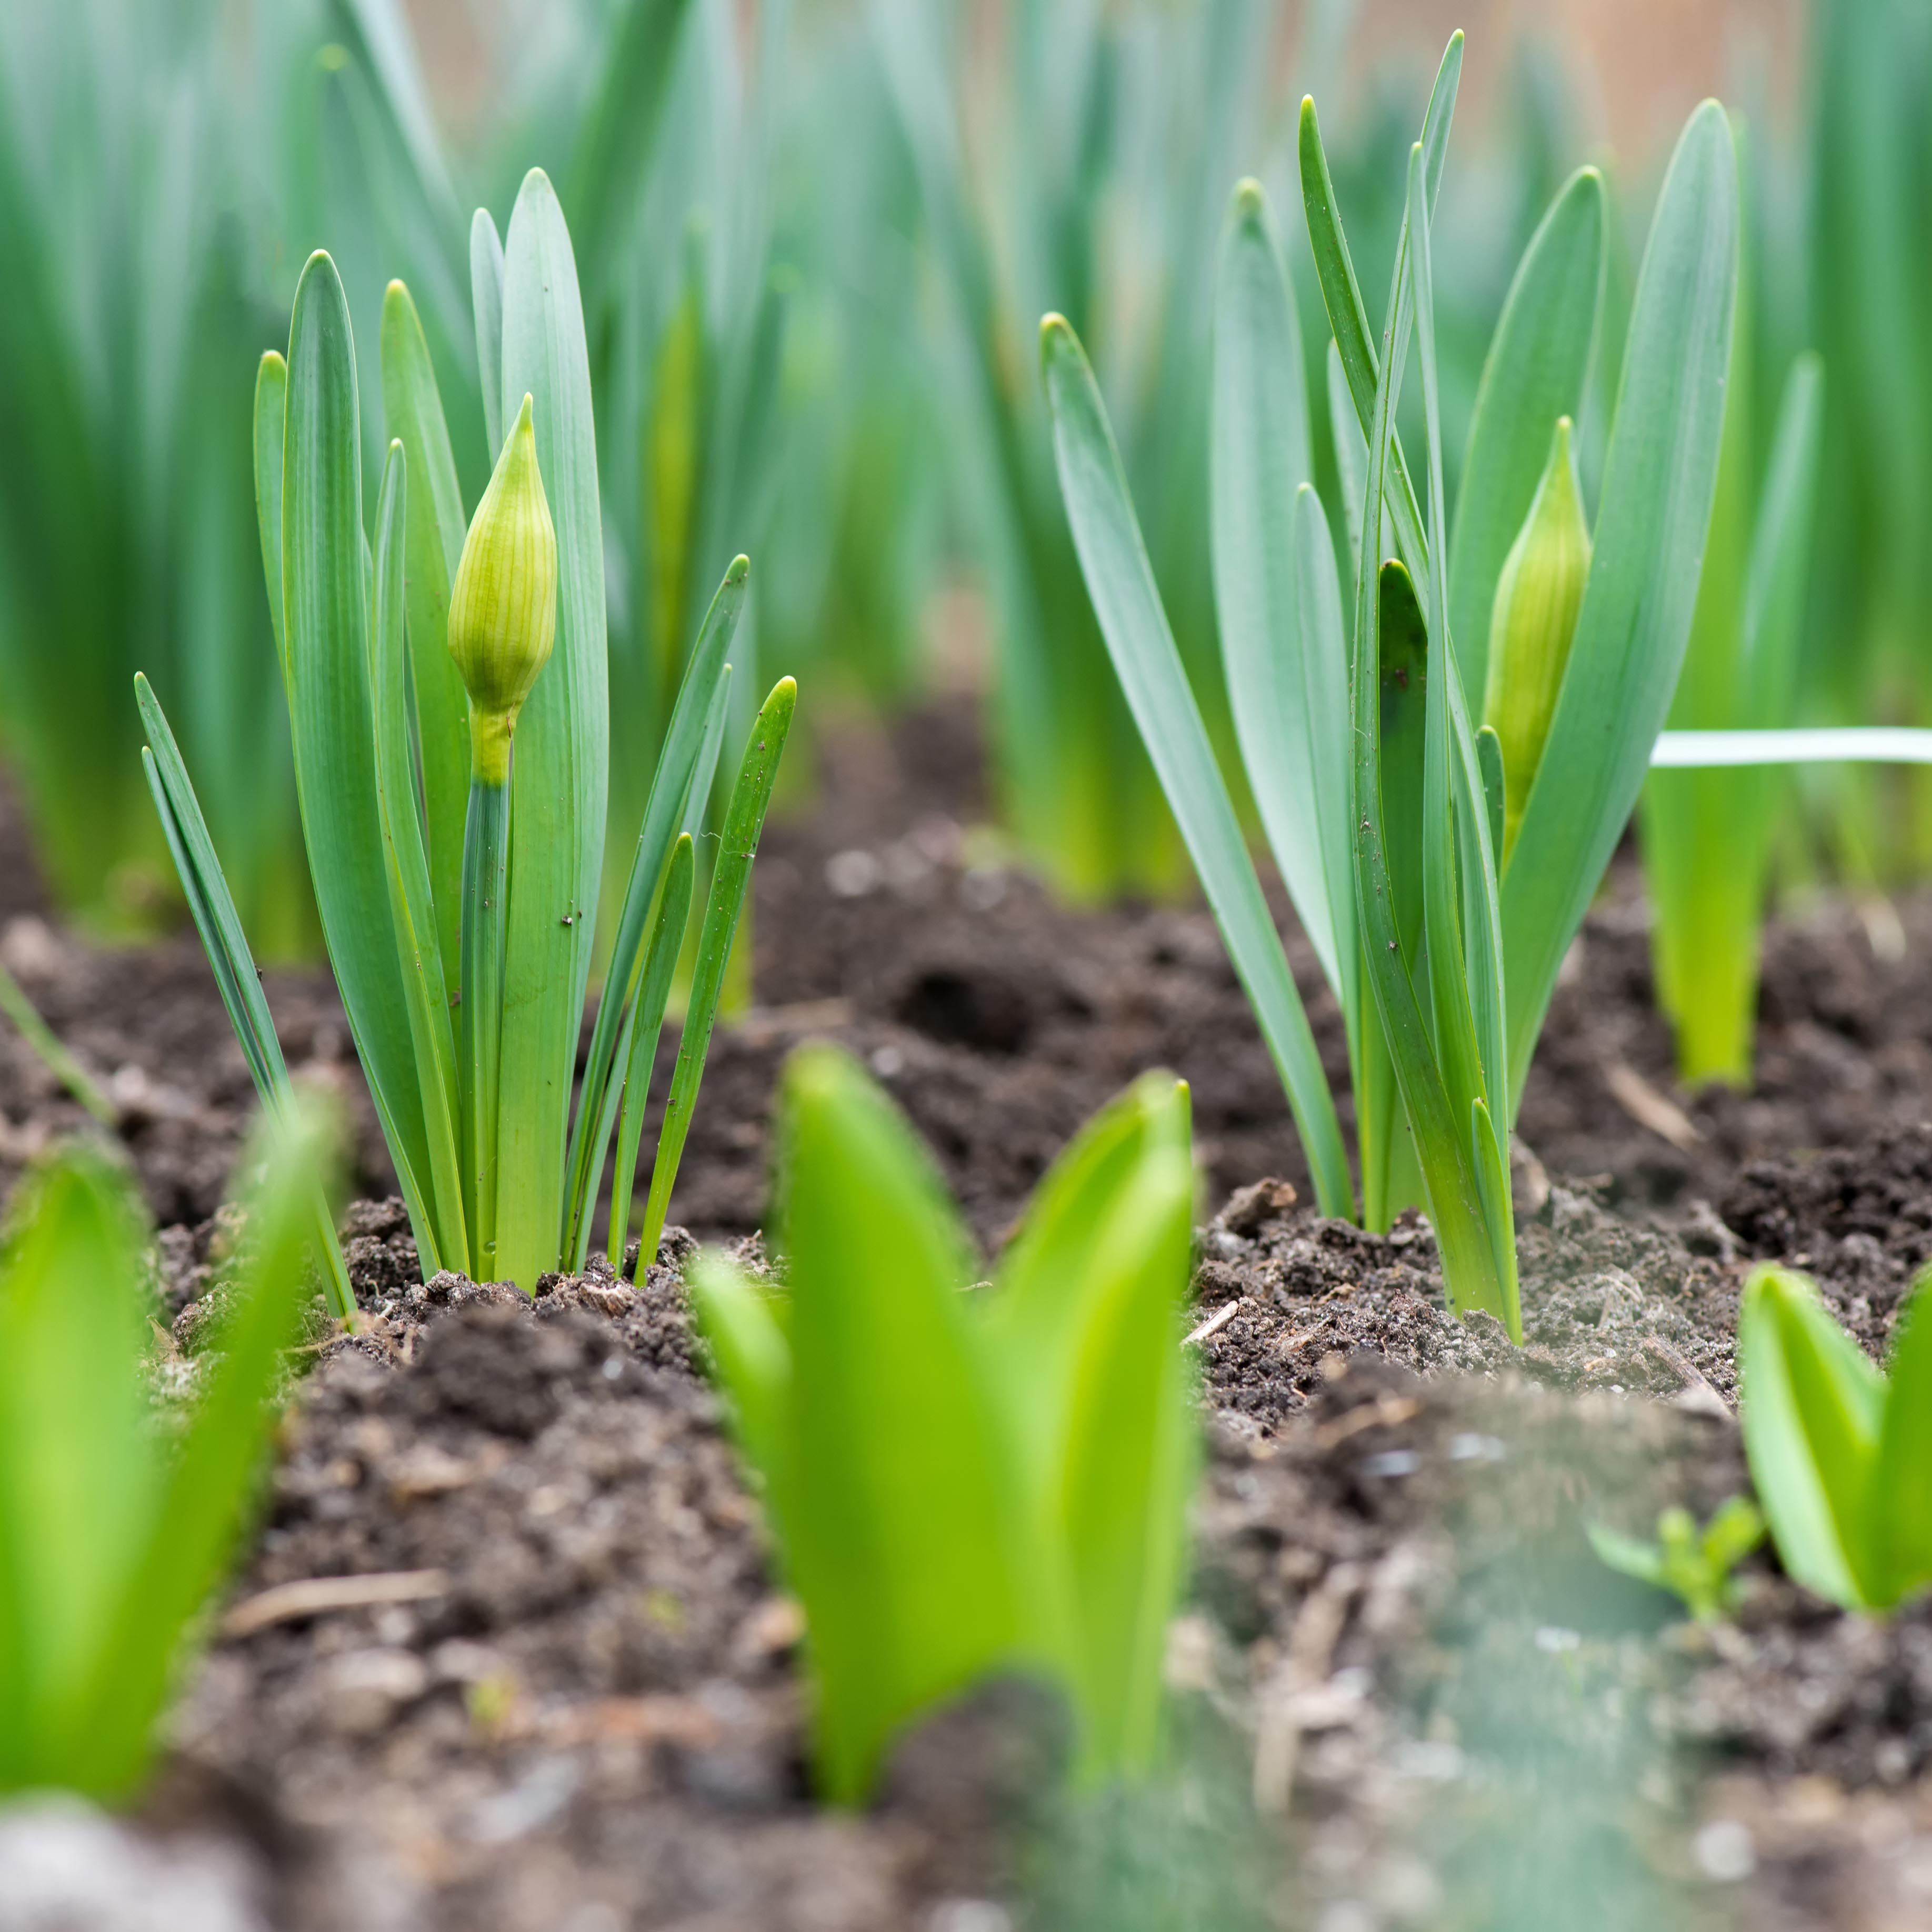
Now, just remember to watch for those early green shoots in the spring. Your kids are sure to be thrilled at seeing their hard work come to fruition!