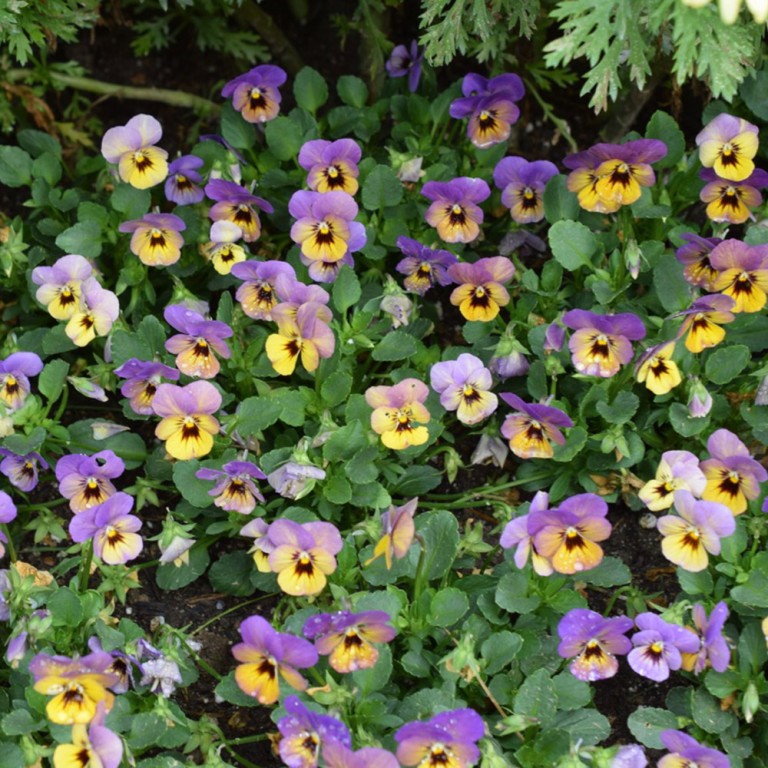
As summer comes to an end, many of your flowering plants are blooming for the last time this season. While they won’t be adorning your yard anymore (at least this year), you can still put those beautiful blooms to good use. Pressed flowers can be used to decorate your home, in frames or shadowboxes, and can also be used in craft projects such as scrapbooking. Here is what you need to know about pressing your own flowers.
First, pick your flowers at the right time. Select blooms that are just about to open their buds, or just before they have reached their peak. Pick them in the morning, after dew has evaporated, and immediately plunge their stems into water. Keep in mind that the best flowers for pressing are those that are naturally flat already, such as daisies and violets. You might also choose to press leaves of various plants.
Once you’re ready to press your flowers, you can press them with your iron. Heat the iron to a low setting, and make sure that you’ve emptied the water reservoir. You definitely want to avoid adding moisture by accidentally steaming your flowers, as this is the opposite of what you hope to accomplish.
Place your flowers between two sheets of absorbent paper, such as newspaper, printer paper, flat cardboard, or even non-corrugated coffee filters. The first time you press, you might wish to experiment to see which type of paper best suits you. Use a heavy book to first flatten the flowers, and then it’s time to begin ironing.
Press the iron to the top sheet of paper for ten to fifteen seconds, and then lift it straight off. Don’t iron the flowers in a back-and-forth motion as you would clothes. Allow the paper to cool for a few seconds, and then lift it to check your progress. Depending upon the type of flowers you have chosen, you might need to repeat the pressing several times before you achieve the result you want.
Once your flowers have cooled, they’re ready to be used in decorating or crafting projects.


Write a comment: